Are you just starting your Android development journey? Looking for a simple and fun project to practice core concepts? In this beginner-friendly tutorial, we’ll guide you through creating a basic music player app using Java in Android Studio.
This hands-on project is great for learning about:
- Android UI components
- Working with MediaPlayer
- Handling audio files
- Structuring layouts using LinearLayout
Let’s get started!
Prerequisites Before You Begin
Before diving into this project, you should have basic knowledge of:
- Android Fundamentals
- Setting up Android Studio
- Creating and running your first Android project
What You’ll Learn
By the end of this tutorial, you’ll understand:
- How to use the MediaPlayer class and its core methods: start, pause, and stop
- How to use external assets (like images and audio) in your Android project
- How to design a simple UI using XML
- How to integrate audio playback controls (Play, Pause, Stop)
Step-by-Step Guide to Build a Music Player App in Android Studio
Step 1: Create a New Android Project
- Open Android Studio.
- Select “Empty Activity”.
- Choose Java as your language.
- Name your project (e.g., `SimpleMusicPlayer`). Make sure the project name starts with a capital letter.
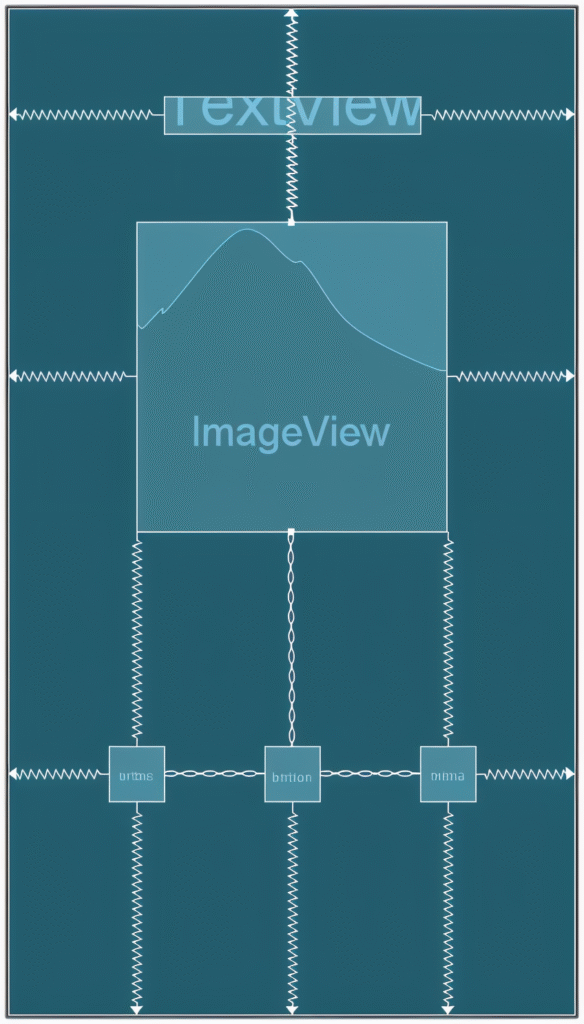
Step 2: Design the User Interface (activity_main.xml)
We’ll use two layouts to build our UI:
- A Vertical LinearLayout for overall screen structure
- A Horizontal LinearLayout for button alignment
Components:
ImageView: Displays an image representing the song.
Three Buttons:
- Play Button (▶️)
- Pause Button (⏸️)
- Stop Button (⏹️)
Note: When you press “Play” after “Pause”, the music resumes. If you press “Play” after “Stop”, it starts from the beginning.
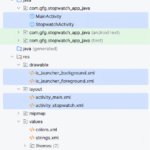
Step 3: Add Your MP3 File to the Raw Folder
1. Navigate to:
app -> src -> main -> res
2. If a `raw` folder doesn’t exist:
Right-click on res > New > Directory
Name it `raw`
3. Copy and paste your `.mp3` file into this folder (use all lowercase for filenames, e.g., `sound.mp3`)
Step 4: Add Java Code in MainActivity.java
Inside `MainActivity.java`, use the MediaPlayer class to manage audio playback.

> Note: The stop method releases the current audio. Re-initializing it is necessary to play again.
Step 5: Run the App
You can test the app using:
Emulator (AVD): Recommended RAM – 4GB or higher.
Physical Android Device:
- Enable Developer Options
- Turn on USB Debugging
- Connect your phone via USB and run the app
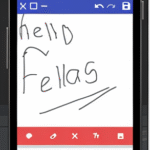
Final Result
Your app will display an image with three control buttons (Play, Pause, Stop) below. When you click Play, the music starts. Pause temporarily halts the audio, and Stop ends it completely.
Summary
In this beginner Android project, you learned how to:
- Design a user-friendly interface
- Handle media playback using Java
- Use local assets (images, audio)
- Understand layout hierarchies with LinearLayout
This simple yet practical app lays a solid foundation for building more complex multimedia Android applications.
Next Steps
Ready to take it further? Try adding:
- SeekBar for music progress
- Multiple audio tracks
- Background music service
- Music notifications