Are you just starting your Android development journey? One of the easiest and most rewarding beginner projects is a Flashlight Android App. In this detailed guide, you’ll learn how to create a flashlight app using Kotlin in Android Studio, handle camera permissions, and build a clean, user-friendly interface. We’ll walk you through each step—from creating the layout to writing the Kotlin code.
Why Build a Flashlight App as a Beginner?
Creating a flashlight app offers several benefits:
- Learn about Android permissions (like CAMERA and flashlight features)
- Work with `CameraManager` API in Kotlin
- Understand toggle interactions using `ToggleButton`
- Build and test a real-world utility app
Prerequisites
Before starting, make sure you have:
- Android Studio installed
- Basic understanding of Kotlin
- An Android device or emulator with flash support
Step-by-Step Tutorial to Create a Flashlight App in Kotlin
Step 1: Create a New Android Project
- Open Android Studio.
- Click New Project > Empty Activity.
- Set language to Kotlin, name your app `FlashlightApp`, and finish setup.
Flashlight App Source Code Download
You can download the complete source code for this Kotlin-based flashlight app, including layout files, Kotlin logic, and manifest configuration.

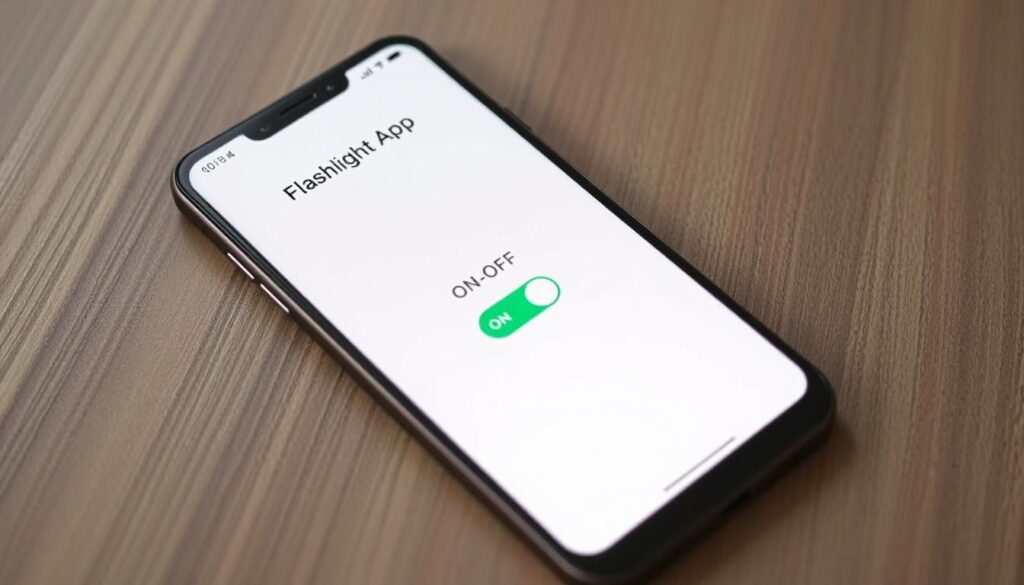
Flashlight App Features
| Feature | Description |
| Toggle Flashlight | ON/OFF button to control flashlight |
| Flash Availability Check | Ensures flash exists on the device |
| Kotlin Integration | Uses modern Android practices |
| Simple UI | Clean and minimal interface |
Final Thoughts
Developing a flashlight app using Kotlin is a great beginner project. You get hands-on experience with:
- Camera permissions
- Device hardware access
- Toggle button handling
- Kotlin programming for Android
Whether you’re building your first app or adding projects to your portfolio, this flashlight app is a must-try. Ready to build more? Try adding dark mode support, animation, or voice control next!