After installing Android Studio and launching it for the first time, the next step is to create a new project. This is essential to begin your Android development journey.
In this article, we’ll walk you through the steps to create a new Android project in Android Studio.
Steps to Create a New Android Project in Android Studio
Step 1: Select the Activity Type
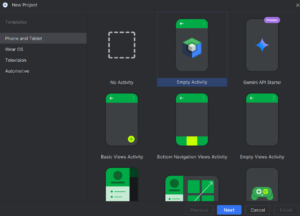
When starting a new project, Android Studio will prompt you to select an activity type. For mobile development, choose “Empty Activity” (or another template if preferred).
An Activity in Android represents a single screen with a user interface.
Step 2: Configure Your New Project
Next, you will be prompted to configure your new project by filling out the following details:
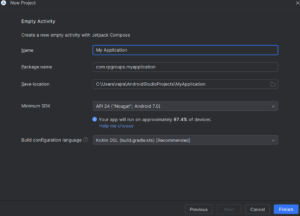
- Name: The name of your application (e.g., “MyFirstApp”).
- Package Name: Automatically generated based on the application name and domain. It uniquely identifies your app.
- Save Location: Choose where you want your project files to be saved on your computer.
- Language: Select the programming language — Kotlin or Java.
- Minimum SDK: Set the minimum Android version your app will support. For example, choosing Nougat (API 24) means your app will only run on devices running Nougat or higher.
- Build Configuration Language: Usually Gradle (Kotlin DSL or Groovy). This configures how your project is built and compiled into an APK.
Click “Next” to continue.
Step 3: Finish and Create the Project
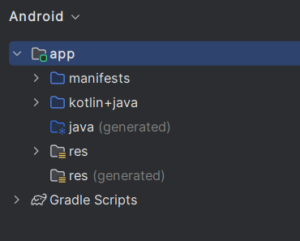

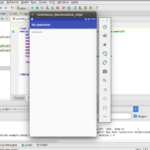
After setting up the configuration, click on “Finish”. Android Studio will now generate a default project with necessary files and directories.