If you’re looking to build beautiful cross-platform apps for Android, iOS, web, and desktop, Flutter is your go-to SDK. But before you can start building Flutter apps in Android Studio, you need to install the Flutter and Dart plugins. This step-by-step guide will walk you through the process of installing these plugins correctly in Android Studio.
Why Use Flutter with Android Studio?
Android Studio, developed by Google, is one of the most powerful IDEs for Android development. Integrating it with Flutter gives developers a seamless experience with features like:
- Smart code completion
- Hot reload
- Powerful debugging tools
- Integrated terminal and emulator support
- Efficient Dart code analysis
Prerequisites Before Installing Flutter & Dart Plugins
Before installing the plugins, make sure you have the following:
1. Android Studio Installed
You can download it from the official site: Visit
2. Flutter SDK Installed
Follow the instructions here: Visit
3. Environment Variables Set
Add the Flutter SDK path to your system environment variables for easy command-line access.
How to Install Flutter and Dart Plugin in Android Studio
Follow these steps to install the Flutter and Dart plugins in Android Studio:
Step 1: Open Android Studio
Launch Android Studio from your system.
Step 2: Go to Plugins Settings
Click on File > Settings (on Windows/Linux) or Android Studio > Preferences (on macOS).
From the left sidebar, select Plugins.
Step 3: Search for the Flutter Plugin
- Click on the Marketplace tab.
- In the search bar, type Flutter.
- Select the Flutter plugin developed by flutter.dev.
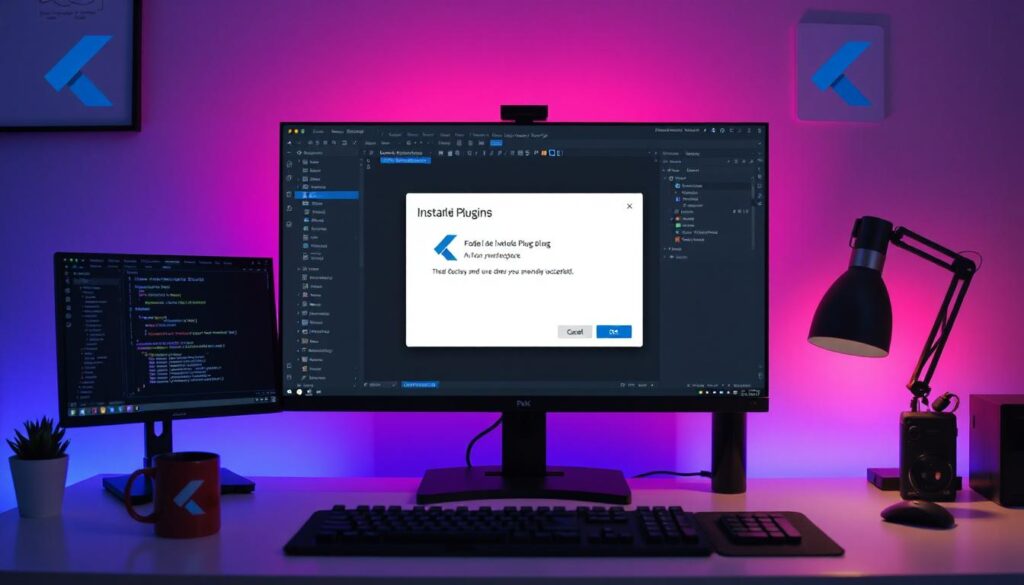
Step 4: Install Flutter Plugin
- Click the Install button.
- A dialog box will prompt you to install the Dart plugin as well.
- Click Yes to install Dart automatically along with Flutter.
Step 5: Restart Android Studio
- After installation, click the Restart IDE button.
- Android Studio will restart with the Flutter and Dart plugins activated.
Verifying the Installation
Option 1: Create a New Flutter Project
- Go to File > New > New Flutter Project.
- If the option appears, the plugin installation is successful.
Option 2: Check Plugin Settings
- Go to File > Settings > Plugins again.
- Ensure both Flutter and Dart are listed under Installed Plugins.
Troubleshooting Common Issues
| Issue | Solution |
| Flutter project option not showing | Restart Android Studio or reinstall the plugin |
| Dart plugin not installing | Manually search for “Dart” in Plugins Marketplace and install |
| Flutter SDK path not found | Check if environment variables are correctly set |
| Command ‘flutter’ not recognized | Add Flutter to PATH in system environment settings |
Bonus: Install Flutter SDK via Command Line (Optional)
If you haven’t installed Flutter yet:
On Windows:
git clone https://github.com/flutter/flutter.git -b stable
setx PATH “%PATH%;<your_flutter_path>\bin”
On macOS/Linux:
git clone https://github.com/flutter/flutter.git -b stable
export PATH=”$PATH:`pwd`/flutter/bin”
Then run:
flutter doctor
What’s Next After Installation?
Now that you’ve installed the Flutter and Dart plugins:
- Start building your first Flutter app
- Use hot reload to quickly see UI changes
- Explore the Flutter Widget Catalog
- Integrate with Firebase, APIs, and native Android/iOS features
Conclusion
Installing the Flutter and Dart plugins in Android Studio is a crucial step in setting up your development environment for cross-platform mobile app development. This guide ensures a smooth and error-free installation process. Once setup is complete, you’ll be ready to create powerful and visually appealing apps using Flutter’s rich UI toolkit.